

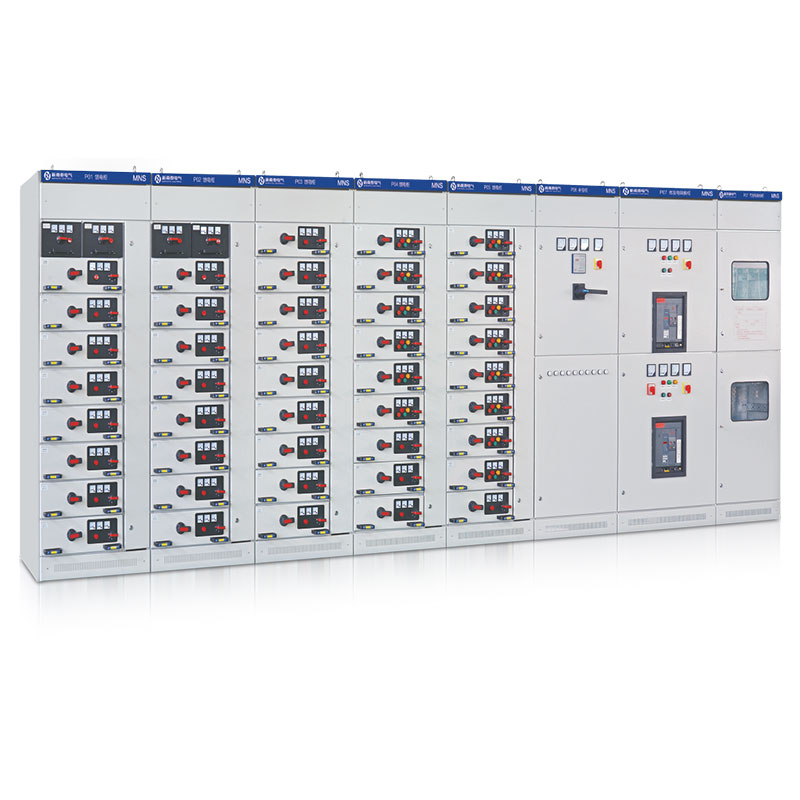


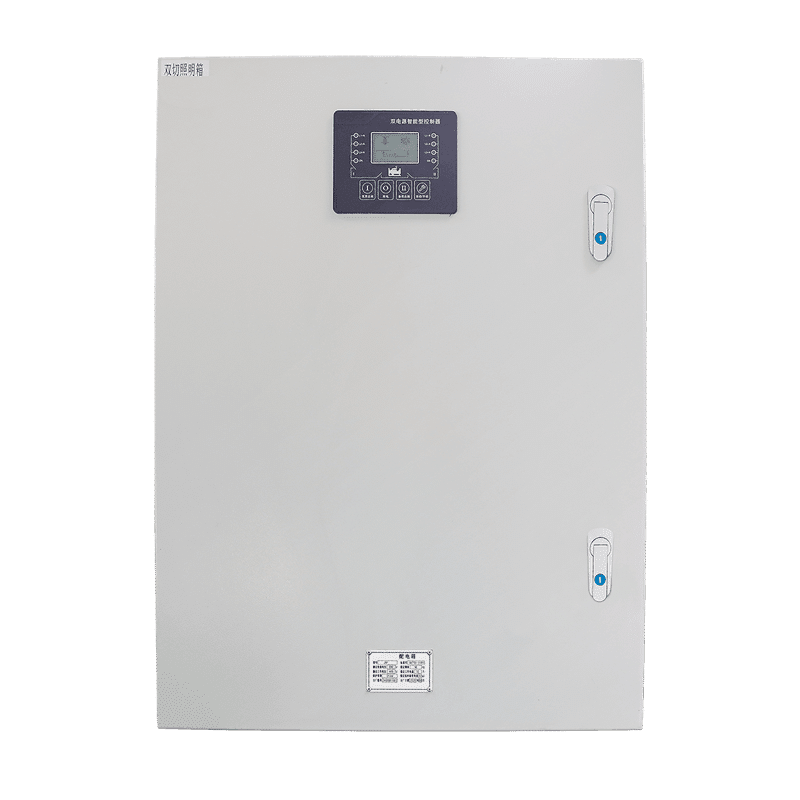


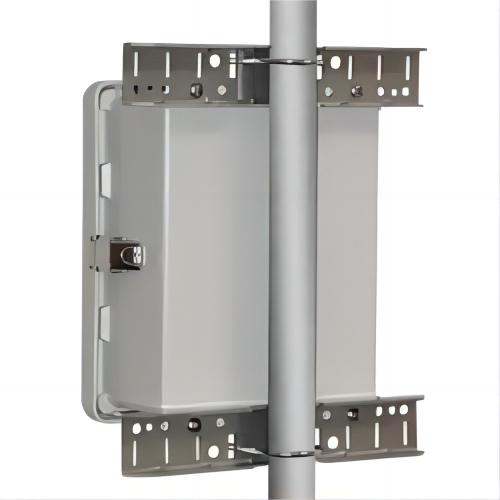


Understanding the fundamentals of designing, building, and testing control panels is critical for original equipment manufacturers (OEMs), systems integrators (SIs), and end users who will utilize these panels for years or decades. Panel design is a specialized skill that takes much more than simply selecting certain pieces and attaching them to an enclosure, but there are several solutions and resources available to assist.
Electrical control panels are the lifeblood of sophisticated mechanical systems in industrial manufacturing. They make sure that all electrical systems, equipment, and machinery are properly regulated, monitored, and protected. Without them, the production process might become chaotic and unsafe.
For these reasons, designing, manufacturing, and assembling electrical control panels may be a difficult operation that demands meticulous attention to detail, careful planning, and skill.
This article walks through some of the processes involved with creating a typical electrical control panel.
1. Planning and Designing
Before beginning any electrical control panel project, you need to have a thorough grasp of the production process and safety regulations. This understanding allows you to create a set of electrical schematics and panel layouts that incorporate all of the relevant information, such as power needs, equipment specs, signal types, and safety measures. The design should be tailored to your production process requirements. Your technical team should assess the design to ensure that all functionality, rating, and safety criteria are satisfied. During the design review, it is critical to ensure that the control panel meets all applicable electrical safety standards, such as NFPA 70 (NEC), NFPA 79, and UL508A.
While some EIC components may be deployed in the field without a control panel, control panels are far more commonly used to house these devices. Industrial control panels serve a variety of reasons:
- Protecting interior-mounted components from external environmental conditions such as heat, cold, moisture, pollutants, and mechanical damage.
- Preventing workers from getting into touch with components and electricity.
- Distribution, conversion, and circuit protection for electrical and communication systems.
- Centralizing EIC devices such as programmable logic controllers (PLCs), input/output (I/O) devices, human-machine interfaces (HMIs), motor controls such as variable frequency drives (VFDs), networking devices, and instrumentation, among others.
2. Component Layout And Design

Component arrangement and design considerations are crucial when designing and assembling electrical cabinets. Here are comprehensive instructions:
Schematic diagrams design
Schematic diagrams encompass physical layouts and schematic drawings.
It is necessary to produce precise schematics early in the design phase. These designs should include precise depictions of electrical connections and circuits and a full description of the physical architecture. This stage guarantees that the design team and installer have a clear reference for the proper positioning of each component.
Component grouping
Grouping according to flow, thermal concerns, and functionality.
Components are classified according to the flow of electricity, heat produced by the component, and function. Components that create a lot of heat, such as frequency converters and power supply units, should be positioned in well-ventilated parts of the cabinet, while AC and DC components should be kept separate to avoid electromagnetic interference.
Internal Space Management
Internal space management: ensuring there is enough space for safe operation and cooling
The design must provide enough interior space not just for safe operation, but also for appropriate air circulation to dissipate heat. Densely packed components can cause overheating; thus, their placement and spacing must be adjusted depending on their thermal properties.
External enclosure design
Dimensions and orientation should facilitate safety, maintenance, and future expansion
The electrical cabinet’s enclosure design should provide adequate room and simple positioning for future maintenance and expansion. The enclosure’s dimensions and apertures should be designed to provide simple access to interior components while also leaving enough space for future additions or replacements of current components.
Component Selection
Choosing the right components is essential for a reliable and efficient control panel. Key components include:
- Input Devices: Input devices encompass a variety of components, such as buttons, switches, sensors, and touchscreens.
- Output Devices: Output devices include indicators, lights, displays, and alarms.
- Controllers: Programmable logic controllers (PLCs), relays, and microcontrollers.
- Power Supplies: Guarantee sufficient and consistent power to all components.
- Communication Interfaces: Network interfaces and communication modules designed to exchange data.
もっと詳しく 電気制御盤部品:知っておくべきこと
3. コンポーネントの組み立て
Once the design is complete, the following step is to assemble all of the control panel components. Control components are often put on a subpanel, which is then fitted in an enclosure. The sub-panel layout in the electrical schematic design package specifies which components are necessary and where they should be positioned on the sub-panel. Many control components are mounted on a common DIN rail, which speeds up installation. Wire duct is also built on the sub-panel to ensure that wiring between devices is routed smoothly.

To ensure that the device has enough air space around it for heat dissipation, observe the spacing criteria specified by the manufacturer. Disconnect handles, air conditioners, push buttons, and stack lights will all be located on the enclosure in addition to the subpanel.
4. 取り付けと配線

After constructing all of the components, the next step is to wire the control panel using the electrical schematic package. The wiring in the schematics will specify which terminal on each control component a wire will land on, as well as the necessary wire gauge. The color of the wire is also crucial since it indicates the voltage it transports, such as 24VDC, 120VAC, or 480VAC. The wire color must adhere to appropriate requirements. In addition, each cable will be assigned a unique label. This label will help to verify that cables are correctly landed and will enable maintenance to troubleshoot the system if a problem occurs when the control panel is operational.
5. テストと品質管理
Once assembly is completed, the shop should test their work and provide documentation of:
- Parts verification.
- Overcurrent device ratings.
- Overall layout/arrangement.
- Proper wire/component tagging.
- Grounding/bonding.
- Point-to-point wiring tests.
Following component installation and wiring, the electrical control panel is tested and validated as the last phase. This stage is critical because it checks the panel for wiring issues, safety features, and operation. The initial step in this procedure is to check each wire for point-to-point continuity (“beep test”) against the electrical schematics to ensure it is wired correctly. This is a vital step before turning on the panel. Once the beep test is finished, the panel may be connected to electricity and turned on to check that all components work correctly.
6. Documentation and Maintenance
When designing and manufacturing electrical cabinets, it is critical to develop extensive documentation and maintenance standards to maintain the equipment’s long-term dependability and efficiency. Below is a full description of the value and role of various publications and maintenance guides:
1) Create extensive documentation for future maintenance and troubleshooting.
Operational manual: Contains all required operating instructions so that users may learn how to operate the electrical cabinet securely and efficiently.
Troubleshooting Guide: Diagnoses and solves common problems, allowing maintenance professionals to discover and address errors more quickly and precisely.
Component Catalog: A detailed inventory of all components, including models and supplier information, makes it simple to replace and upgrade parts.
2) Includes illustrations and a maintenance regimen for continuous operation.
Wiring and installation diagrams provide detailed information on electrical connections and components, ensuring optimal operation throughout maintenance and upgrades.
Maintenance Plan: Regular inspection and maintenance are essential for guaranteeing the long-term safe operation of electrical cabinets. The maintenance plan should include a timetable for all inspection operations, as well as particular chores like cleaning, verifying connections, and testing system functionality.
Safety Protocols: Ensure that all activities adhere to industry safety standards and regulatory requirements, including safe operating and maintenance procedures for electrical cabinets.
Electrical Control Panels Design FAQs
What are the 5 key things to consider when designing control panels?
- Think about Wire Routing from the Beginning
- Be Ready to Deal with Part Collisions
- Build-in Clearances Early and Often
- Synchronize 2D and 3D Work
- Embrace Digital Manufacturing
How To Plan An Electrical Panel?
It is important to take into account the position, alignment, and ease of access to your panel, as well as the arrangement, length, and dimensions of your cables and conduits. It is imperative to clearly and precisely name each circuit and breaker, as well as properly identify the neutral and ground wires.
What Are The Key Considerations While Designing A Control Panel Layout?
Efficient wire routing is crucial when constructing a power control panel that goes beyond a simple 2D layout concept. Designers must meticulously evaluate several interrelated elements, including the wire’s dimensions, the capacity of the wiring ducts, and the maintenance of logical connectivity while determining the routing.
How To Choose Panel Size?
Important Considerations for Determining Electrical Panel Size
- Present and Anticipated Electrical Requirements.
- Electrical Panel Capacity and the Power Consumption of Your Home.
- Municipal ordinances and governmental regulations at the local level.
- Expert assessment and computation.
- Exploring potential upgrade options.
- Optimizing the trade-off between cost and efficiency.
How Do You Draw An Electrical Layout?
Step 1: Know Your Layout.
Step 2: Plan it in Advance.
Step 3: Use the Interior Layout as Your Starting Point.
Step 4: Walk Through Your Plan
結論
Certain control panel designers want to utilize a single manufacturer for all the components within a panel. European corporations exhibit this behavior, and a few American companies also engage in it. Occasionally, there may be a rationale behind this decision, but in general, it restricts your capacity to utilize top-notch items inside each product category.
Updated Selection Guidance
This section is a supplemental review draft. Consolidate overlapping passages before replacing the production URL.
Electrical control panel design starts with the equipment and process requirements, then translates them into a documented power, control, signal, layout, and enclosure arrangement. A design article can organize this workflow, but it cannot approve a project wiring diagram, protection setting, or compliance claim without the relevant engineering information.
1. Define the controlled process
Write down what the panel must control, what starts and stops the equipment, which measurements affect the sequence, and what happens during an alarm or fault. Include normal, manual, automatic, and fallback conditions where they are part of the process.
For pump, VFD, PLC, or water-treatment work, state the process objective and sensor relationships before choosing the panel architecture. This prevents a product name from becoming a substitute for a control sequence.
2. Collect electrical inputs
Record incoming supply, control voltage, motor and load data, starting method, expected duty, cable information, and auxiliary loads. Identify whether the design includes starters, drives, transformers, relays, PLC power supplies, or other control-power devices.
The selected components and protection depend on these inputs. Do not publish a universal device rating or assume that two panels with similar appearances have the same electrical capability.
3. Build the I/O and interface list
Create a signal schedule with the field device, signal type, normal state, destination, alarm condition, and required response. Separate discrete, analog, communication, and spare points. Identify local controls, HMI functions, PLC logic, remote systems, and any interlock that must be approved by the project team.
The Industrial Control Panel Wiring planning guide explains why the I/O list, terminal schedule, and layout need to stay aligned.
4. Choose the control architecture
Assign responsibilities to the power, motor-control, PLC, HMI, signal-interface, and communication layers. A simple relay panel, PLC cabinet, VFD panel, or combined system may each be appropriate for different requirements. The decision should follow the process and I/O, not a preference for a product label.
Use the PLC制御盤 そして VFD Control Panel Design pages and posts as focused routes after the architecture is understood.
5. Plan the physical layout
Place major devices, terminals, cable entries, operator interfaces, and service areas in a way that matches the intended installation and maintenance workflow. Consider power and control segregation, analog and communication paths, heat-producing equipment, access, labeling, and future expansion.
The exact clearance, ventilation, and enclosure requirements depend on the selected devices, the installation, and the governing project requirements. A generic layout image should be labeled as conceptual rather than a construction drawing.
6. Align the document set
Keep the following documents synchronized:
| Document | Design question |
|---|---|
| Load schedule | What equipment is connected? |
| I/O list | Which field signals are required? |
| Schematic or functional diagram | How are the approved circuits related? |
| Panel layout | Where are devices and interfaces located? |
| Terminal schedule | How are field cables identified? |
| Bill of materials | Which components are selected? |
| Revision record | What changed and when? |
When a component, signal, or layout changes, update the related documents together. This is a more reliable design control than relying on one general drawing.
7. Review assumptions and exclusions
Before a proposal is approved, ask the supplier to identify included equipment, programming, drawings, inspection, installation, testing, commissioning, and site work. Confirm whether the panel is a product supply, a design-and-build package, or part of a larger engineering scope.
Do not infer UL, IEC, NFPA, NEMA, IP, or other compliance from a general article or a product image. Verify the exact assembly and documentation.
Design review checklist
- process sequence is documented;
- load and supply inputs are complete;
- I/O and alarm list is reviewed;
- architecture matches the process;
- layout and cable-entry assumptions are recorded;
- documents are cross-referenced and versioned; and
- assumptions, exclusions, and responsibilities are explicit.
Browse this topic: Control Panels technical hub
 JA
JA  EN
EN  EN_ZA
EN_ZA  AR
AR  EN_GB
EN_GB  DE
DE  ES
ES  FR
FR  IT
IT  ZH
ZH  TR
TR  RU
RU  EN_CA
EN_CA  EN_AU
EN_AU  NL
NL  PT
PT  FA
FA